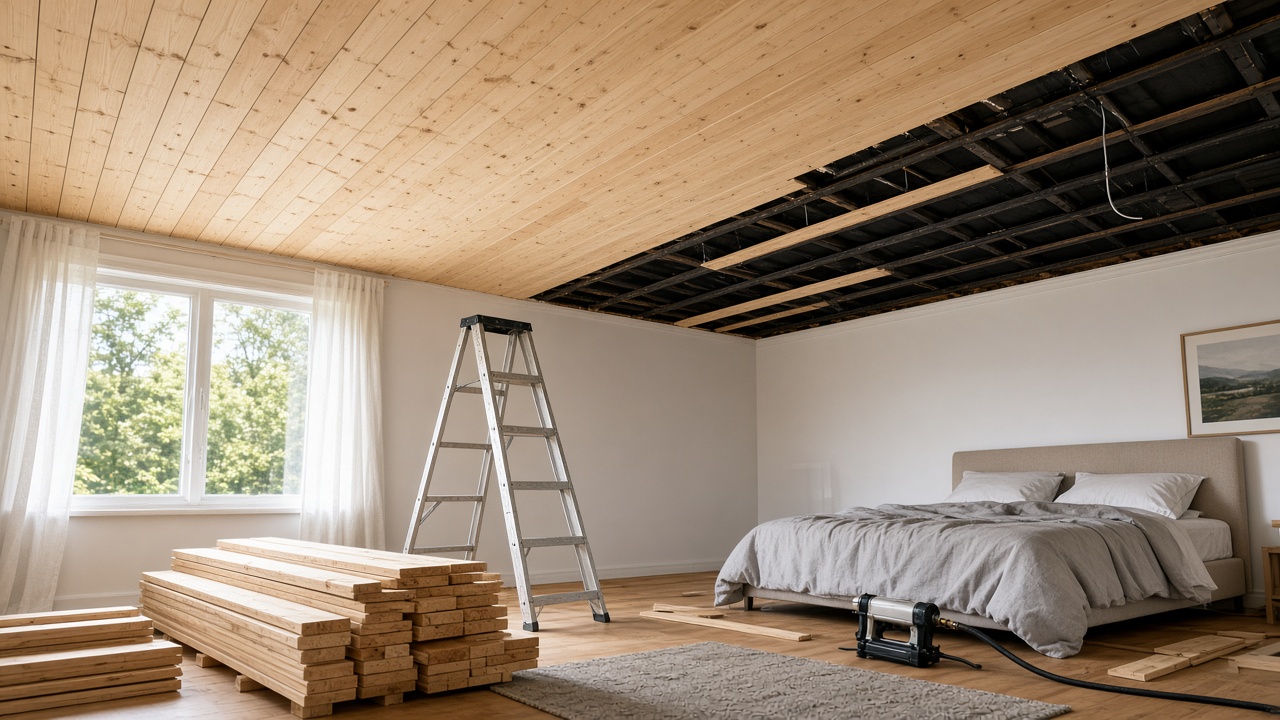
The Ultimate Guide to Installing a Cheap Wood Ceiling in a Weekend
By the Viral Info team · Updated November 2026 · 3 min read
Installing a wood plank ceiling is one of the most satisfying weekend DIY projects. This ultimate guide to installing a cheap wood ceiling in a weekend breaks the job into clear steps, from planning and prep on day one to the final trim on day two.
Tools and materials
| Item |
Why it works |
| Planks |
Pine tongue and groove, plus 10% extra |
| Nail gun |
Brad or finish nailer with compressor |
| Stud finder |
Locates ceiling joists |
| Mitre saw |
Clean, square cuts |
| Safety kit |
Glasses, mask, stable ladder |
Before the weekend
- Measure the ceiling and order planks with 10% extra.
- Acclimatise the boards in the room for a few days.
- Pre-stain or seal boards on trestles to save time overhead.
Day one: prep and start
- Switch off power at the breaker and remove light fittings.
- Mark joist lines on the walls and ceiling.
- Fix the first board straight along the longest wall.
- Blind-nail through the tongue into each joist.
Day two: finish
- Stagger the end joints for a natural look.
- Cut openings for lights and vents carefully.
- Rip the final board to width.
- Add trim or crown moulding to hide edge gaps.
- Touch up the finish and refit lights.
Tip: Turn off power at the breaker before working near light fittings, and have an electrician refit or move any wiring. Use a stable ladder or platform with a helper, wear eye protection for overhead nailing, and check local fire and building rules before covering a ceiling with timber.
FAQ
Can I install a wood ceiling alone?
It is much easier and safer with a helper to hold boards.
Do I need to remove the old ceiling?
No, planks can usually be fixed through drywall into joists.
Which way should planks run?
Usually perpendicular to the joists, often along the room’s length.
Keep reading