DIY IKEA Hacks That Even Absolute Beginners Can Pull Off Without Power Tools
By the Viral Info team · Updated November 2026 · 3 min read
You don’t need a workshop or a drill to customize IKEA furniture. Some of the most effective hacks only need a screwdriver, glue or peel-and-stick materials. These DIY IKEA hacks are made for beginners and renters.
Beginner-friendly hacks at a glance
| Hack |
Tools needed |
Time |
Difficulty |
| Swap knobs and handles |
Screwdriver |
15 min |
Very easy |
| Add furniture legs |
Screwdriver or none (screw-in plates) |
20 min |
Easy |
| Peel-and-stick wallpaper |
Scissors, smoothing tool |
1 hr |
Easy |
| Cane webbing panels |
Glue, scissors |
1–2 hrs |
Easy |
| Paint with primer |
Brush, roller |
Weekend |
Medium |
| Fabric-covered doors |
Spray adhesive |
1 hr |
Easy |
Hardware swaps
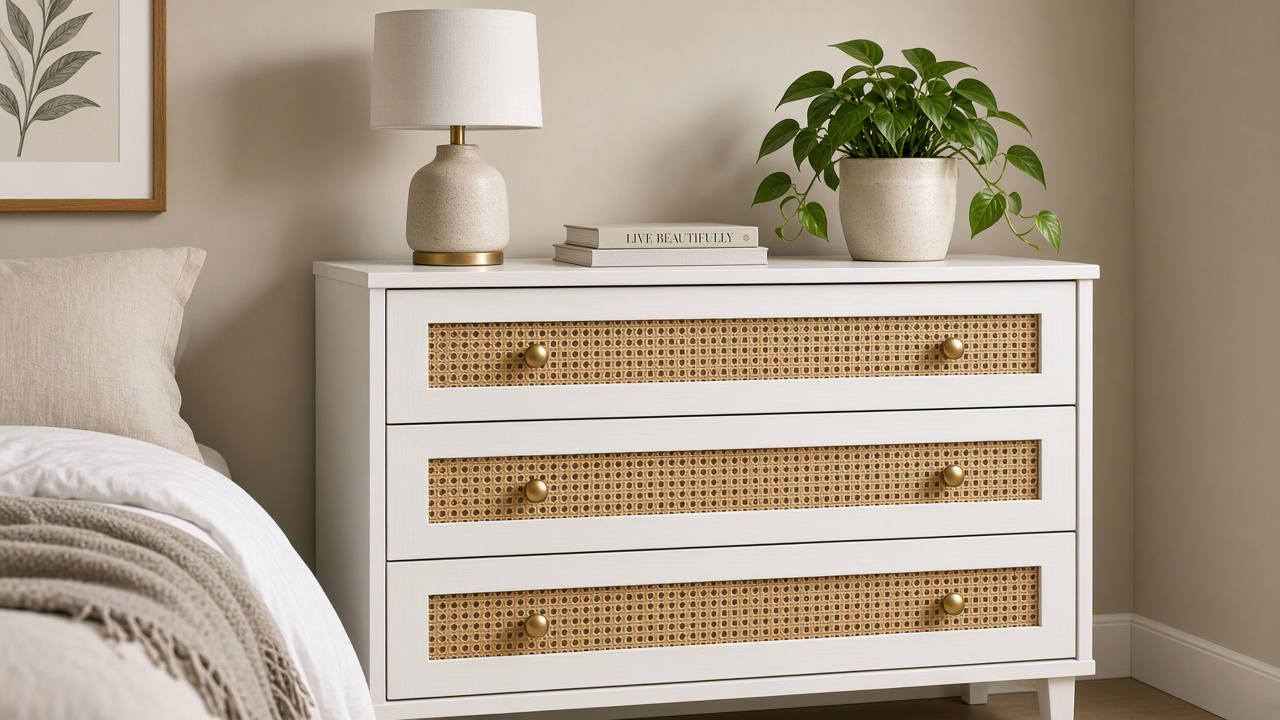
- Brass knobs on a Malm or Hemnes dresser.
- Leather pulls for a modern look.
- Ceramic knobs for a cottage feel.
Legs and bases
- Screw-in legs under a Besta or Kallax.
- Hairpin legs under a bench.
- Wooden plinth base glued under a cabinet.
Surface upgrades
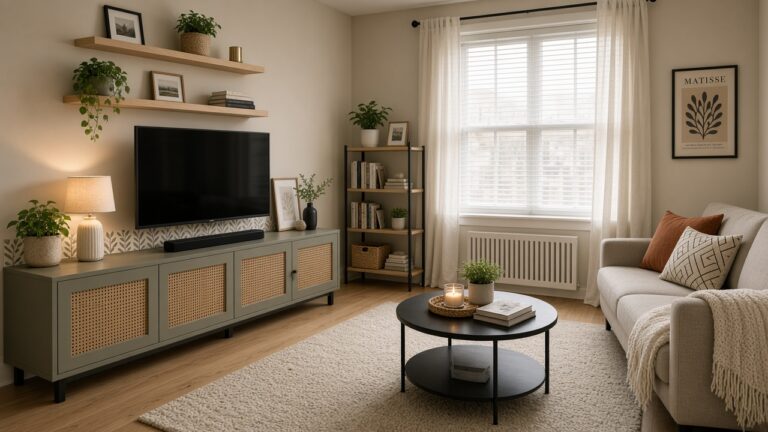
- Peel-and-stick cane panels on drawers.
- Wallpaper on drawer fronts.
- Contact paper in marble or wood on tabletops.
- Fabric on cabinet doors with spray adhesive.
Paint hacks
- Prime with a bonding primer before painting laminate.
- Paint the inside of a bookcase back for contrast.
- Color-block a dresser with masking tape.
Decorative trims
- Wood trim moulding glued on doors for a shaker look.
- Scalloped trim on shelves.
- Rattan edging on a tray or shelf.
Beginner tips
- Clean and lightly sand before painting or gluing.
- Test adhesives on a hidden spot first.
- Keep the original hardware if you rent or plan to resell.
Tip: Start with a small project like a nightstand. It builds confidence before tackling a big wardrobe.
FAQ
What is the easiest IKEA hack? Swapping knobs and handles. It takes minutes and transforms the look.
Can you paint IKEA furniture without sanding? Use a bonding primer designed for laminate and lightly scuff the surface.
Find more IKEA hacks and DIY ideas.