DIY Mirror Mosaic Wall Art: Creative Handmade Projects to Transform Your Space
By the Viral Info team · Updated November 2026 · 3 min read
Mirror mosaics bounce light around a room and look far more expensive than they are. This DIY mirror mosaic wall art guide shows you how to create handmade projects that transform your space, step by step.
What you need
| Item |
Why it works |
| Mirror tiles |
Pre-cut mirror squares or offcuts |
| Base |
MDF or plywood, sealed |
| Adhesive |
Mirror-safe adhesive (not solvent-based) |
| Grout |
Unsanded grout in white, grey or black |
| Safety gear |
Cut-resistant gloves and safety glasses |
Step by step
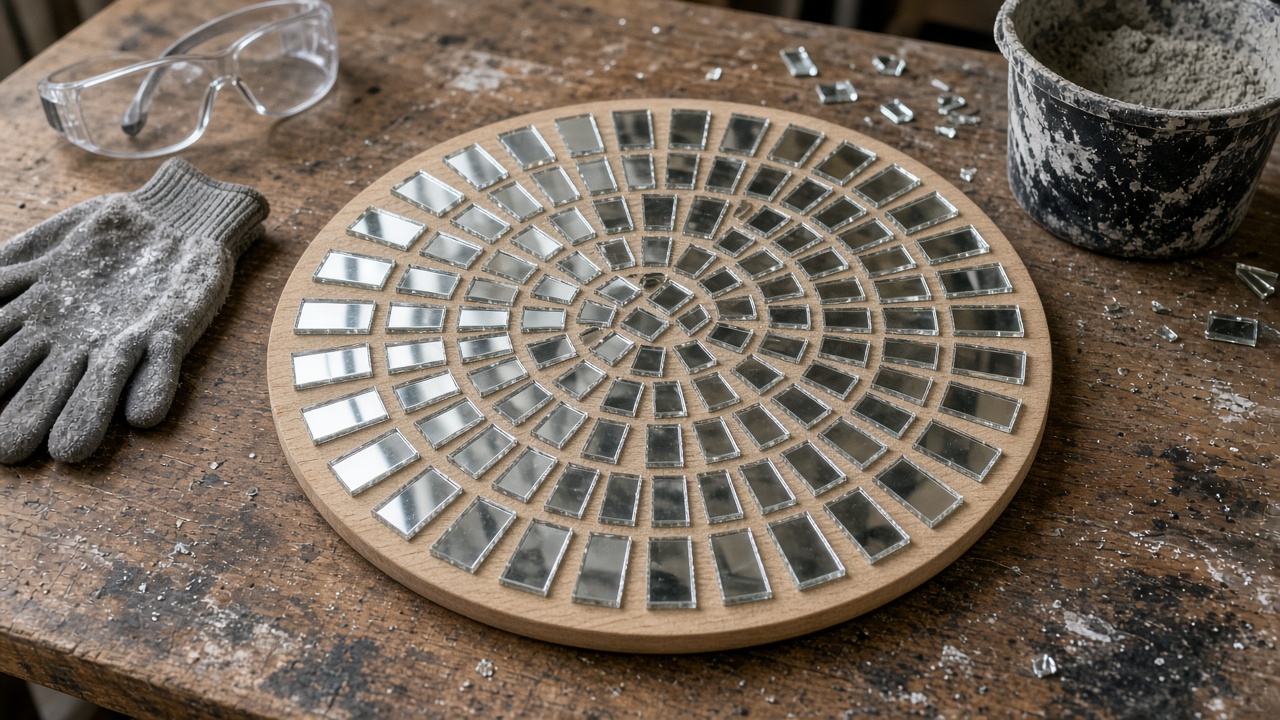
- Design your pattern, such as a sunburst or grid.
- Prepare and seal the base.
- Cut and arrange the mirror pieces dry.
- Stick each piece with mirror-safe adhesive.
- Let it cure for 24 hours.
- Apply grout carefully between pieces.
- Polish the mirror with a soft cloth.
- Add strong D-rings and wire for hanging.
Design ideas
- Sunburst for a statement over a console.
- Geometric triangles for a modern wall.
- Mixed mirror and tile for colour and sparkle.
- Framed panel above a bed.
Tip: Mirror edges are sharp, so wear cut-resistant gloves and safety glasses when cutting and handling, use only mirror-safe adhesive because some glues damage the silver backing, fix heavy pieces into wall studs or with rated anchors, and keep finished art out of reach of children until it is hung.
FAQ
What glue works for mirror mosaics?
A mirror-safe adhesive or silicone labelled safe for mirror backing.
Can I cut mirror at home?
Yes, with a glass cutter and running pliers, wearing gloves and eye protection.
How heavy is mirror mosaic art?
It can be heavy, so use strong hanging hardware and fix into studs where possible.
Keep reading