How to Paint a Wooden Box — The Ultimate DIY Craft Guide
By the Viral Info team · Updated November 2026 · 3 min read
A painted wooden box makes a lovely gift or storage piece. This guide shows how to paint a wooden box from bare wood to a durable finish, with ideas for stencils and distressing.
Supplies
| Item |
Why it works |
| Sandpaper |
120 then 220 grit |
| Primer |
Water-based wood primer |
| Paint |
Chalk or acrylic craft paint |
| Brushes |
Flat synthetic brushes |
| Sealer |
Water-based polycrylic or wax |
Prepare
- Remove hinges and clasps and keep them safe.
- Sand with 120 then 220 grit for a smooth surface.
- Wipe off dust with a damp lint-free cloth.
- Apply a thin coat of primer and let it dry.
Paint
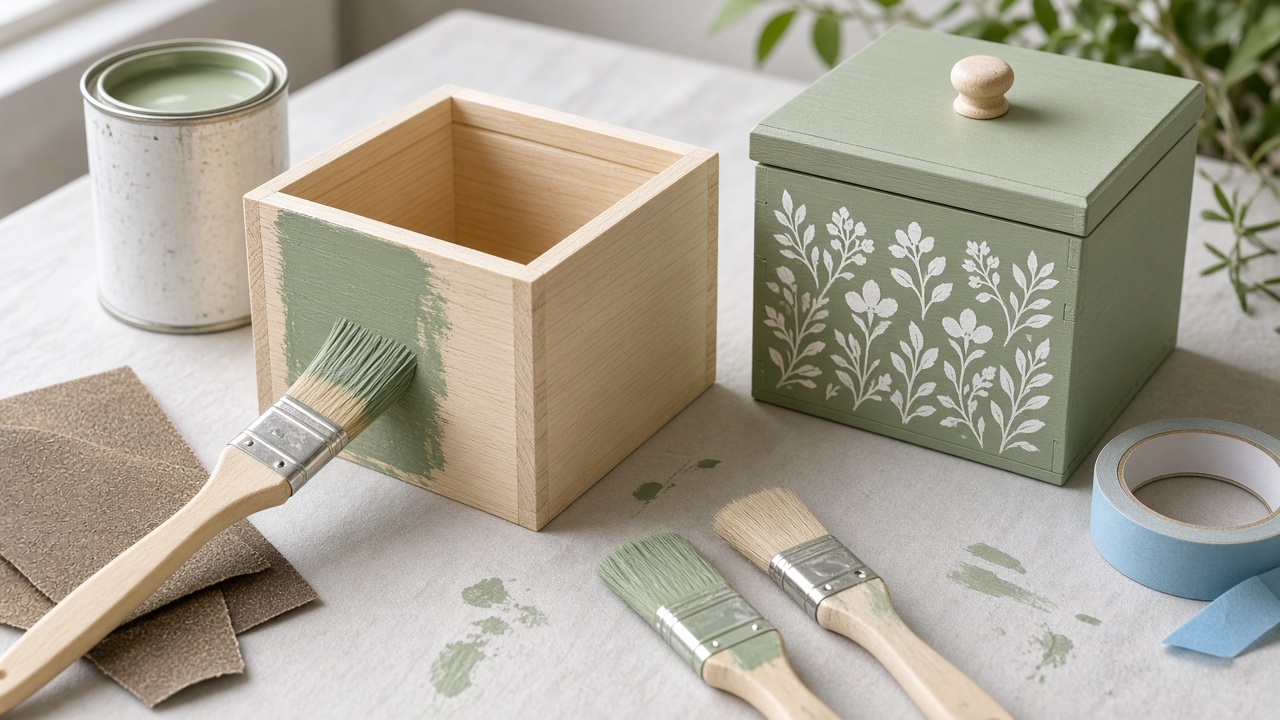
- Brush on thin coats following the grain.
- Let each coat dry before adding the next.
- Paint the inside or line it with paper.
- Use painter’s tape for crisp stripes or borders.
Decorate
- Stencil a pattern with a dabbing motion.
- Distress the edges lightly with sandpaper.
- Add decoupage using napkins or paper.
Finish
- Seal with two coats of polycrylic or wax.
- Reattach hardware once fully cured.
- Leave it to cure for a few days before heavy use.
Tip: Sand and paint in a well-ventilated area, wear a dust mask while sanding, and keep paint and sealers away from young children. Choose non-toxic, child-safe paints if the box is for a child or toys.
FAQ
What paint is best for wooden boxes?
Chalk paint or acrylic craft paint.
Do I need to prime?
Yes for bare wood unless using chalk paint.
How do I stop the lid sticking?
Let paint cure fully before closing it.
Keep reading