IKEA Hacks
IKEA PAX Closet Organization: Layouts, Drawers and Storage Solutions
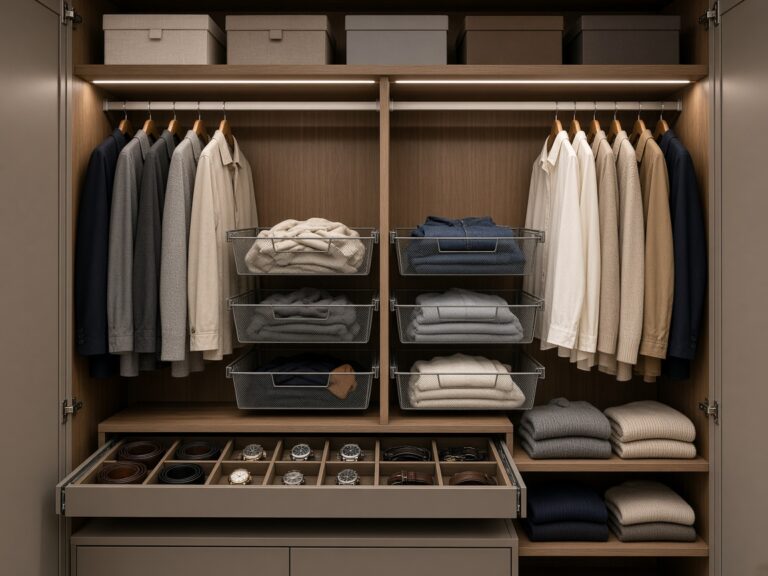
IKEA PAX closet organization made simple: give each section a job, choose KOMPLEMENT fittings, fold and hang smarter, add lighting and keep…
By the Viral Info team · Updated November 2026 · 5 min read
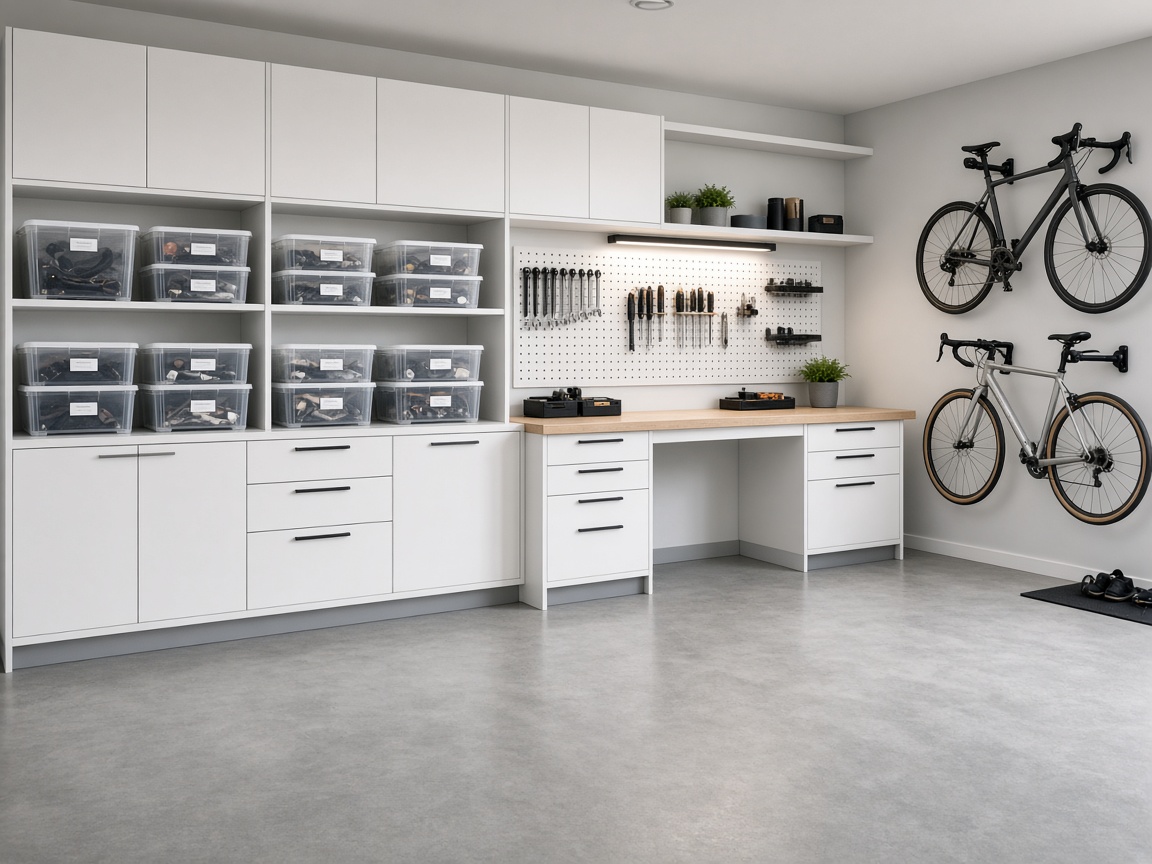
A garage makeover is one of the most satisfying projects in any home, because the “before” is usually so bad. Boxes slump against the walls, tools live in three different places, and the car either does not fit or has to squeeze past a bike every morning. IKEA storage will not fix that on its own, but used with a plan, it can turn a dumping ground into a space you actually want to use.
This guide walks through how to plan an IKEA garage makeover around the way you use the space, which pieces suit a garage, and the order to buy and install everything so you do not end up redoing work.
Most IKEA furniture is designed for indoor rooms. Garages can be cold, damp and dusty, with big temperature swings. Before you plan, check three things:
Rule of thumb: anything tall must be anchored to the wall, and anything heavy should sit on a rail system or be screwed into studs, not just drywall.
Walk the garage and list what really happens there: parking, tool storage, a workbench, bikes, garden gear, a home gym, recycling, seasonal decorations. Then give each one a zone on a simple sketch.
Zoning before shopping stops you from buying a wall of cabinets that blocks the one spot you need for a lawnmower.
Clear, lidded bins are the backbone of garage storage. Measure the bins you already own or plan to buy, then choose shelving that fits them, not the other way around.
Good IKEA options for a storage wall:
Label bins on the short end facing out, and keep one empty shelf for “things in transit” so the system does not collapse the first time you bring home a big delivery.
A workbench is only useful if it suits your projects. Decide what you will do there:
| Use | Bench depth | Top surface | Good IKEA starting point |
|---|---|---|---|
| Small repairs, crafts | 50–60 cm | Laminate or wood | BROR work bench |
| Woodworking | 60–75 cm | Solid wood worktop | Kitchen worktop on BROR or IVAR base |
| Potting and garden jobs | 60 cm | Wipeable, water-resistant | BROR with a sealed top |
Standing height is usually around 90–95 cm, but test by resting your hands flat with slightly bent elbows. Add a pegboard such as SKÅDIS above the bench so the tools you use most are visible and reachable.
Cube storage is handy for resistance bands, mats and foam rollers, but it is not designed for heavy weights. Store dumbbells and plates on a dedicated weight rack on the floor, and keep the gym zone on a rubber mat so dropped weights do not crack the slab.
Mount a mirror only if it is shatter-resistant, and leave at least an arm’s span of clear space around where you train.
Screws, wall plugs, picture hooks and batteries are what usually turn a tidy garage messy again. Instead of one big “bits” box:
This alone saves a surprising amount of time and duplicate shopping.
Most garages have a single bulb in the middle of the ceiling, which puts you in your own shadow at every bench and shelf. Add:
For color, pick one or two and repeat them: white or grey storage with black hardware looks clean and makes the space feel bigger. Painting the walls a light color and sealing the floor makes a huge difference for very little money.
Think about when you need things, not just what they are. Holiday decorations come out once a year, so they can go on the highest shelf or overhead racks. Camping gear might come out a few times each summer, so it should be reachable without a ladder. Group items by trip (“beach day”, “winter car kit”) so you can grab one bin and go.
A great IKEA garage makeover is not about filling every wall. It is about giving every item a home and every activity a place, so the garage stays organized long after the weekend you set it up.
IKEA PAX closet organization made simple: give each section a job, choose KOMPLEMENT fittings, fold and hang smarter, add lighting and keep…
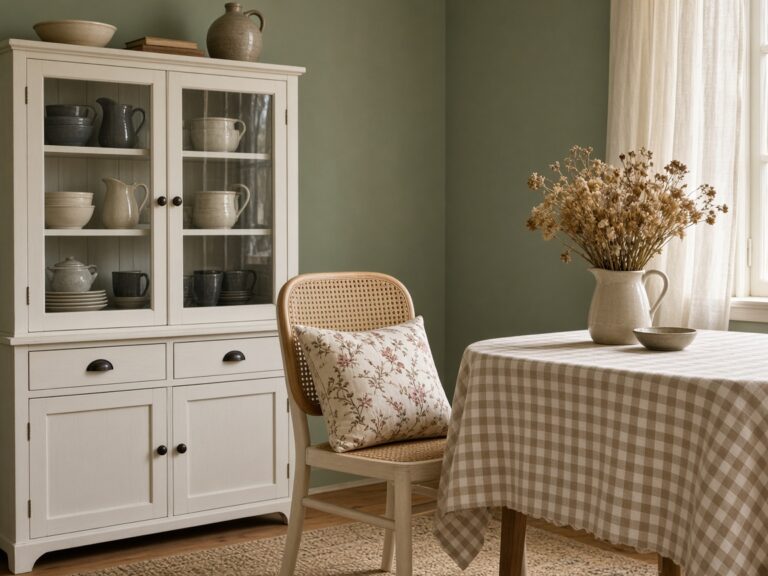
IKEA cottagecore ideas: 10 affordable building blocks and 5 practical styling plans to create a soft, vintage-inspired cottage look on a budget.

IKEA coffee bar hacks every coffee lover needs: KALLAX, RÅSKOG and cabinet stations, wall storage, styling and a layout tested around your…
Room-by-room home decor ideas, IKEA hacks, DIY projects and storage solutions, written to help you make confident, good-looking choices for the home you actually live in.
© 2026 Viral Info. All rights reserved.